

Mobility print
Printing from personal device – Mobility Print
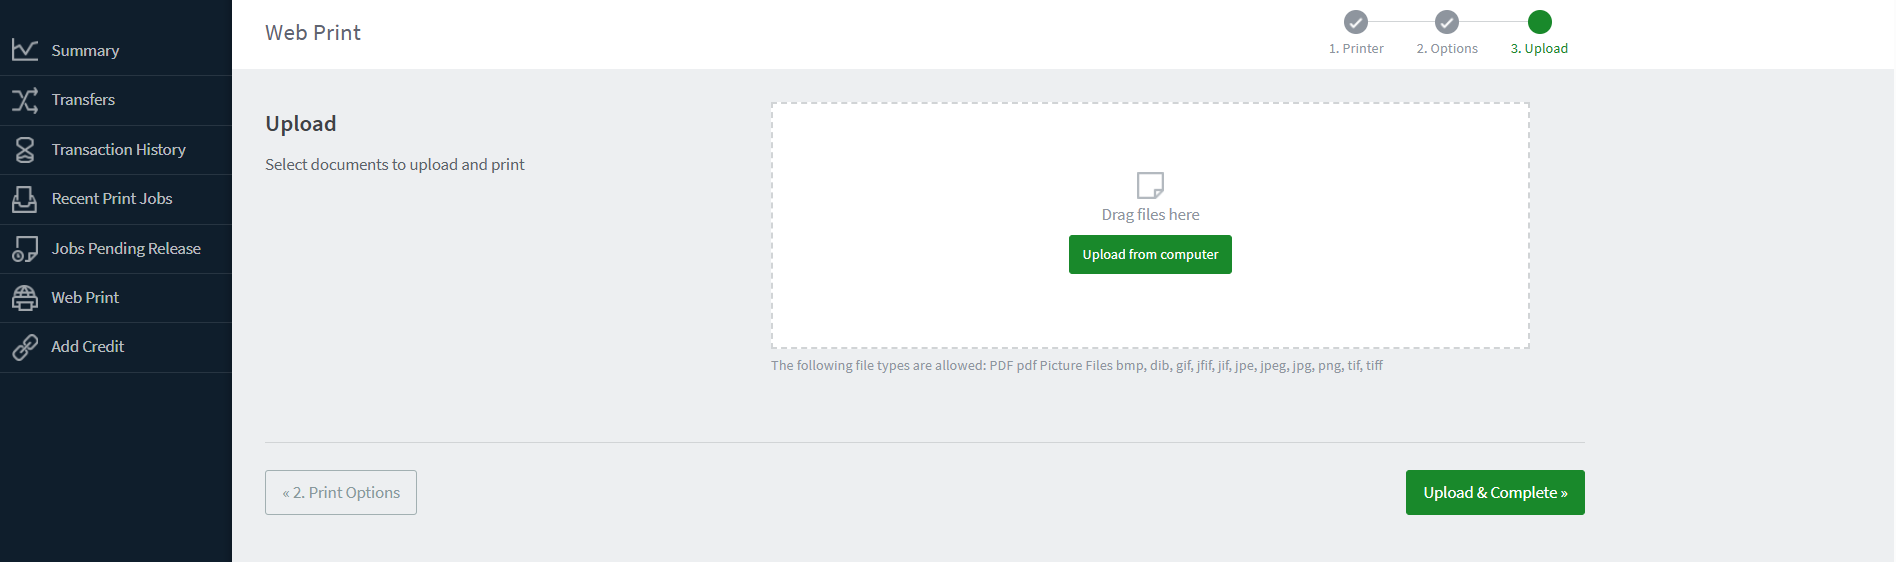
Accepted file types
Microsoft Excel
xlam, xls, xlsb, xlsm, xlsx, xltm, xltx
Microsoft PowerPoint
pot, potm, potx, ppam, pps, ppsm, ppsx, ppt, pptm, pptx
Microsoft Word
doc, docm, docx, dot, dotm, dotx, rtf, txt
PDF
pdf
Picture Files
bmp, dib, gif, jfif, jif, jpe, jpeg, jpg, png, tif, tiff
XPS
xps
- You must be connected to eduroam.
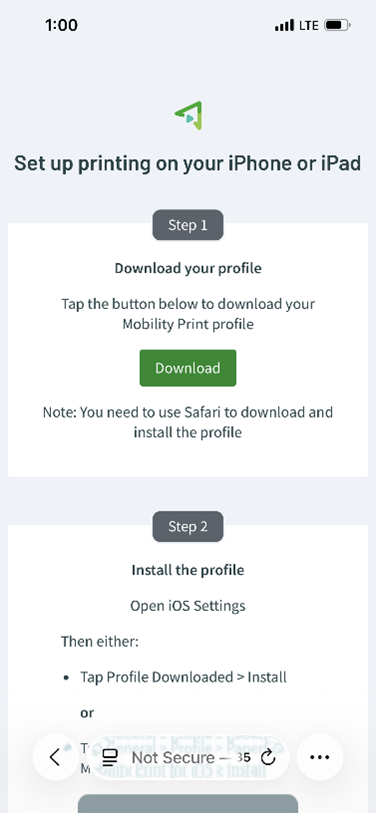
- Download Mobility Print
and follow the setup instructions.
Note: The screen shots and instructions provided are for setting up Mobility Print for iOS. It may appear slightly different for different operating systems.
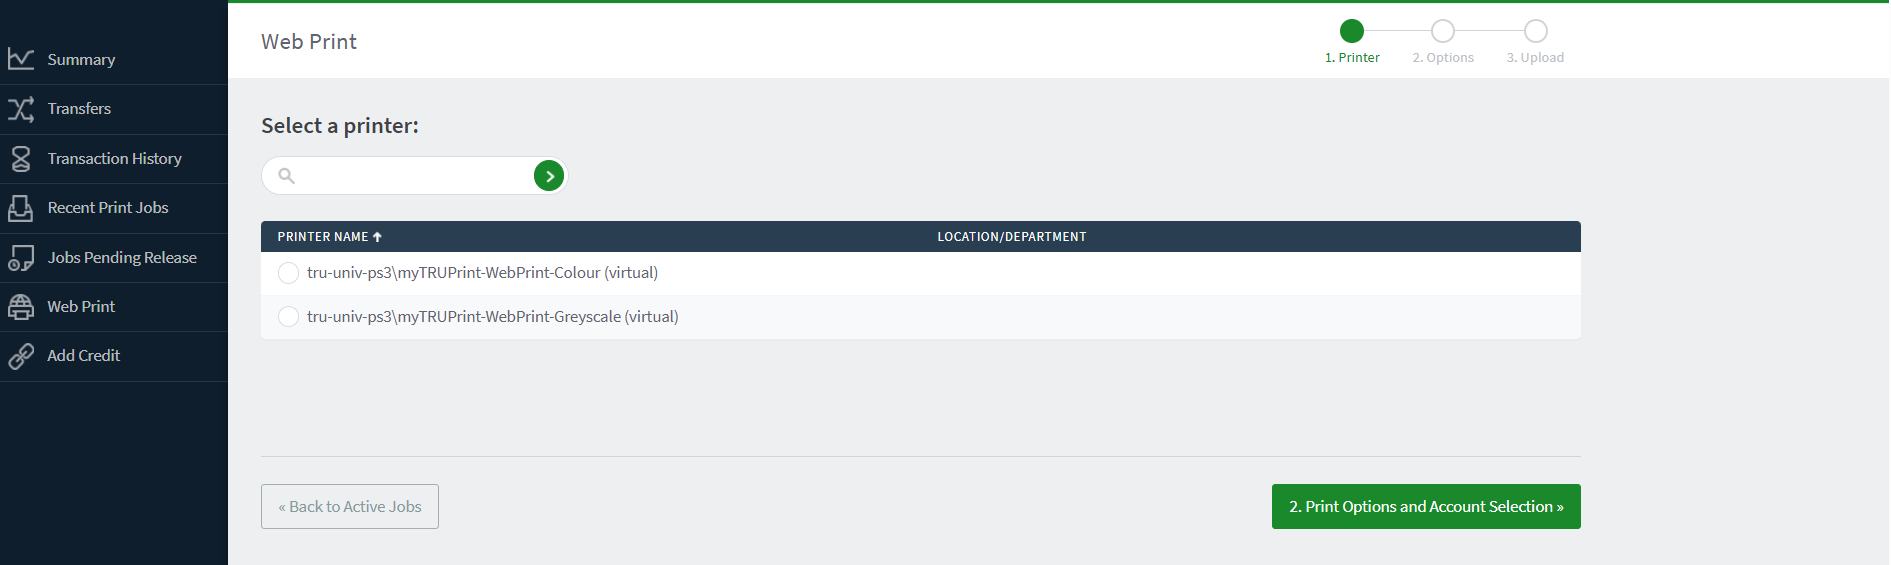
- Select the document you want to print.
- Ensure the selected printer is TRUMobilityPrint.
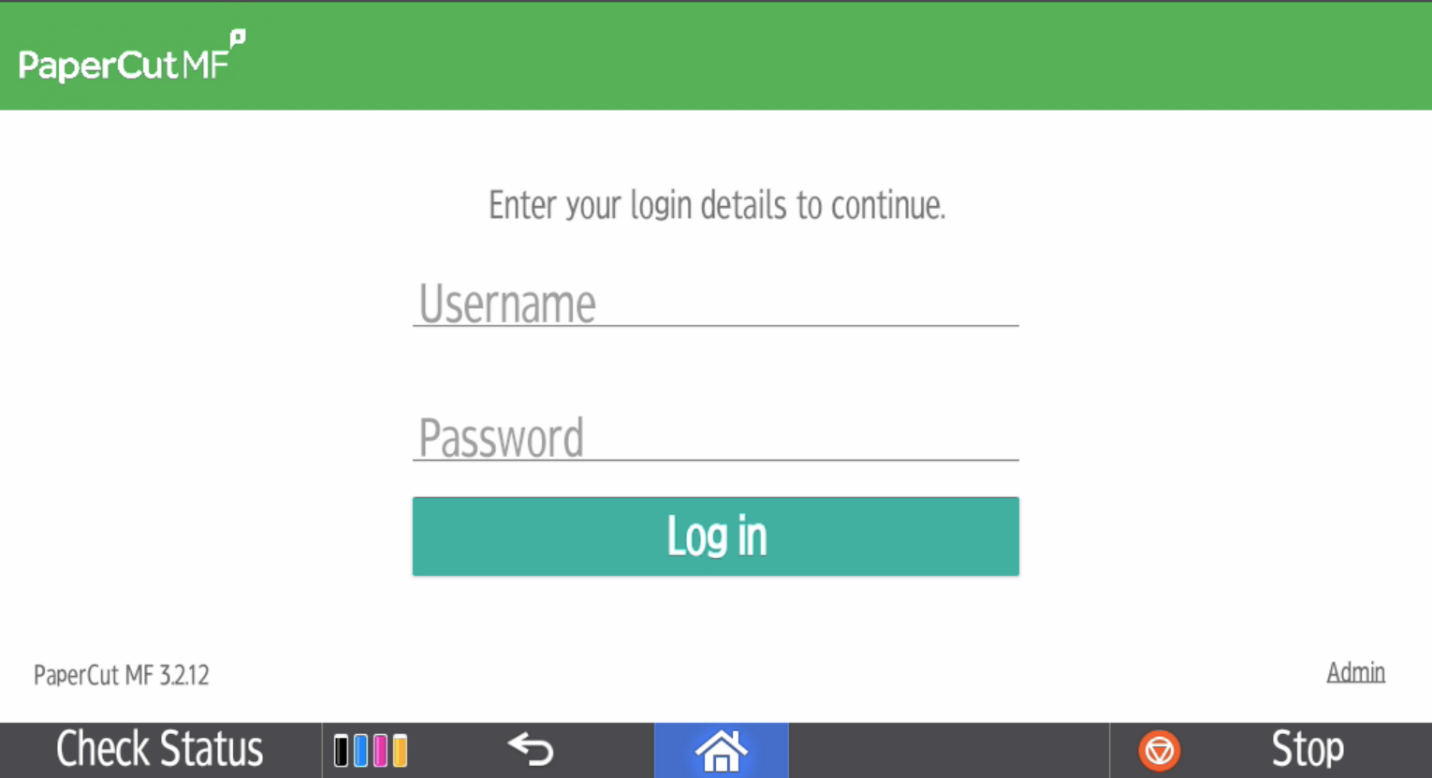
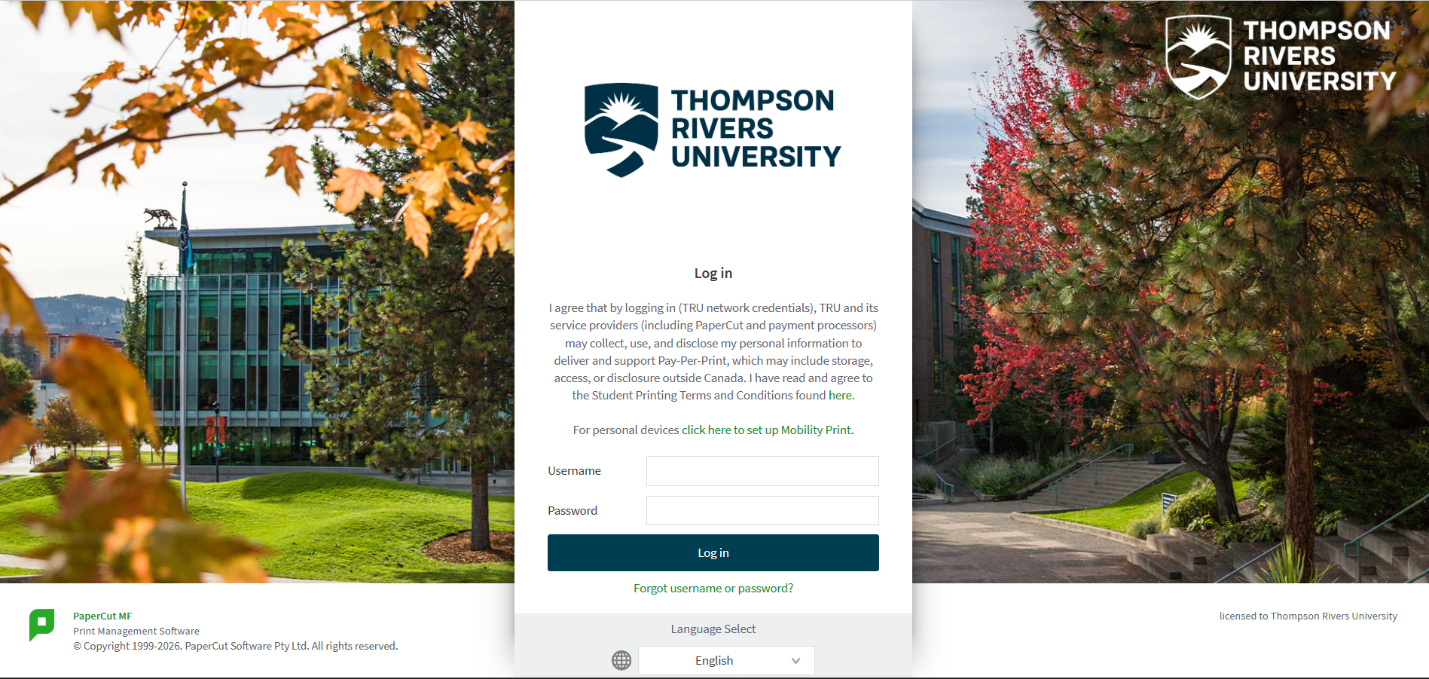
- Log in using your TID number and password.
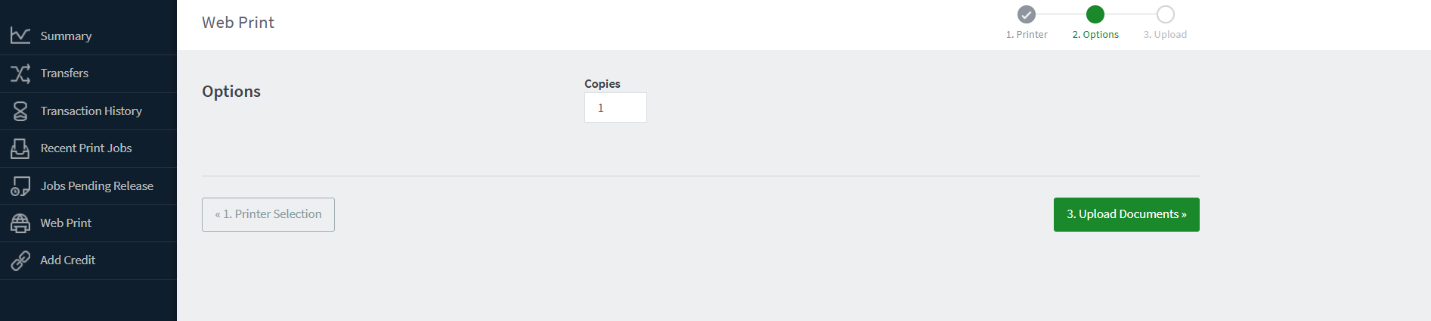
- Select your print settings and print.
- Note: your personal device may change default settings—review your print settings before releasing your print.
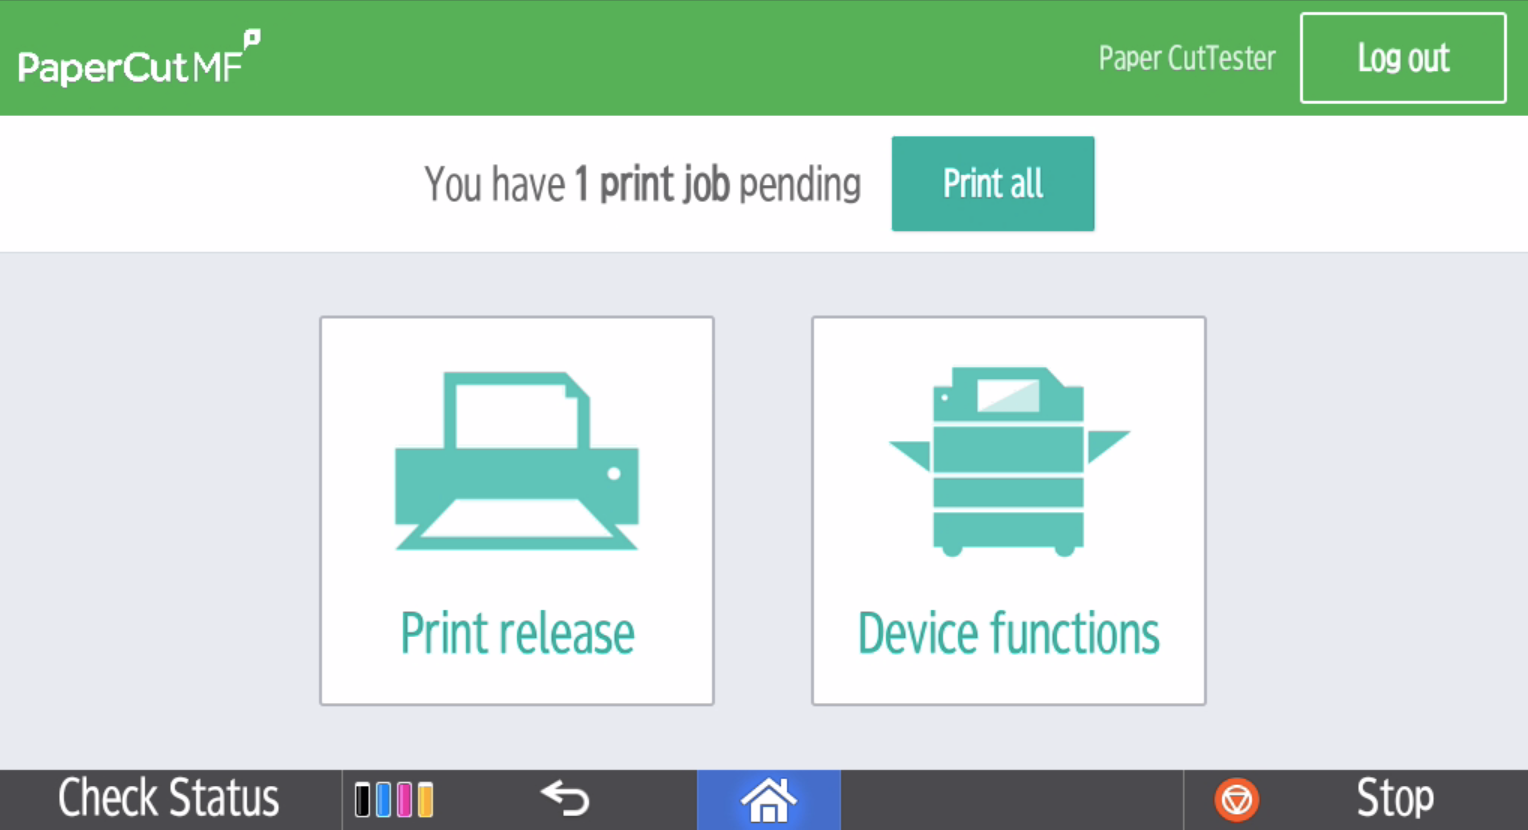
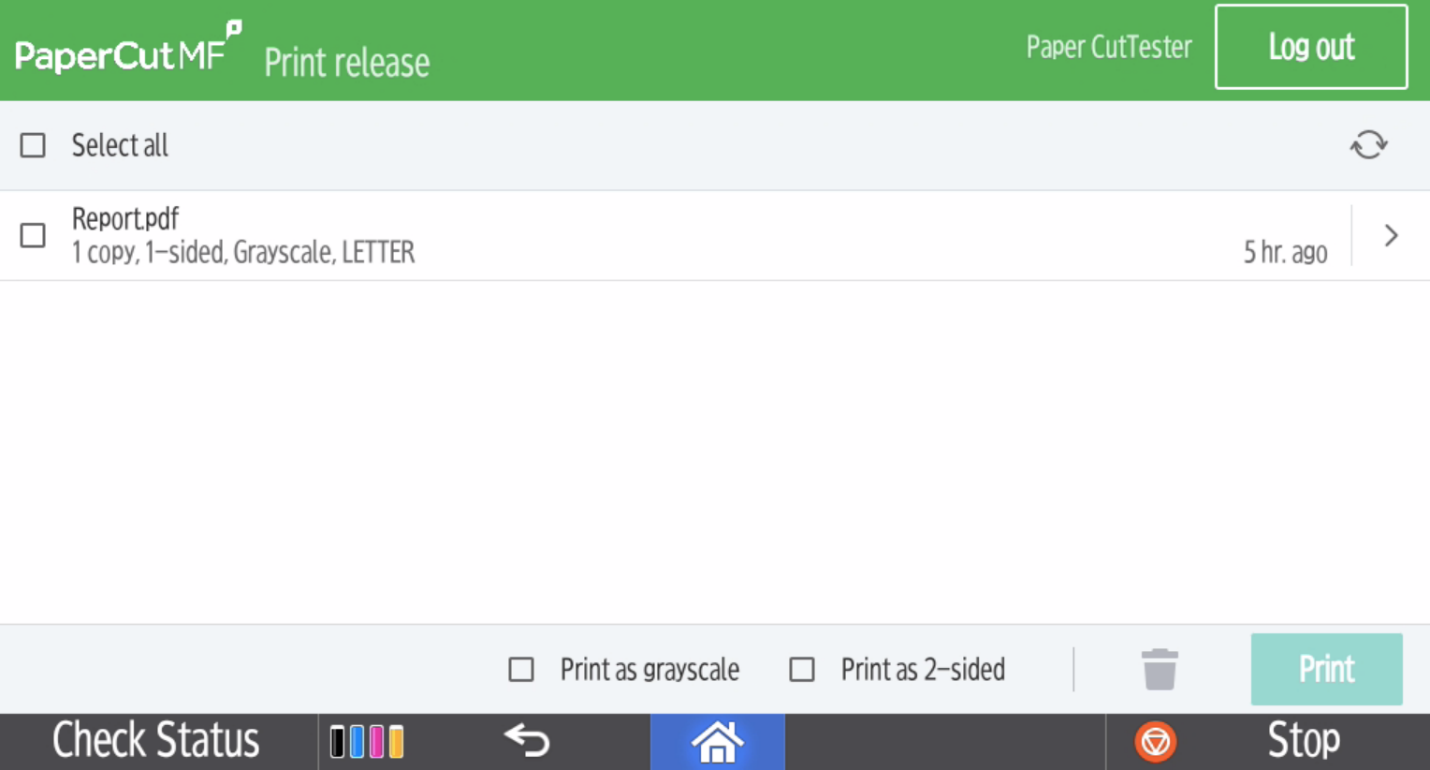
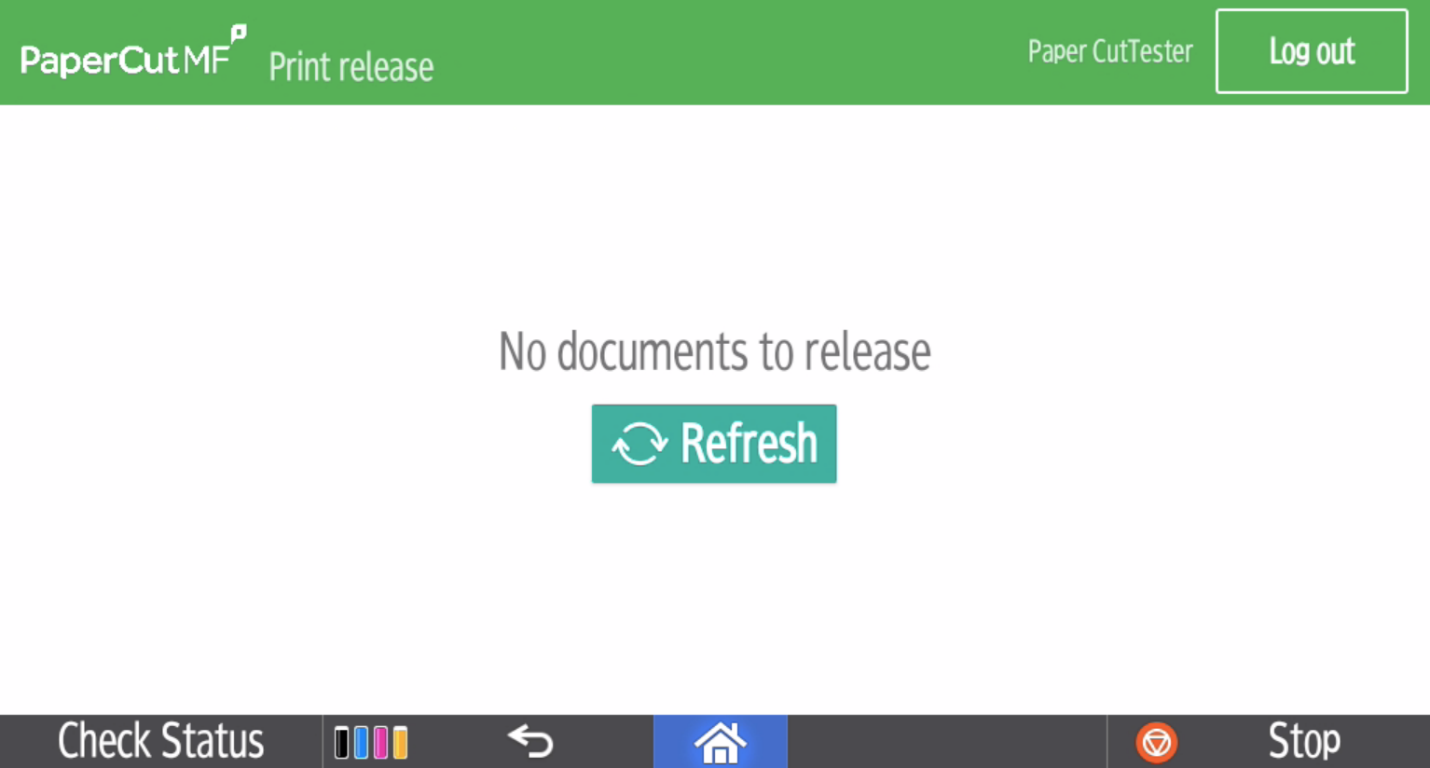
- At the printer, log in with your TID number and password and select Print Release.
- Always log out when finished.